I also think I need to practice with the KitchenAid a little more to get a better feel for how much kneading time is actually required with the dough hook. I'm used to kneading dough for anywhere from 20-40 minutes by hand, but obviously that's not required with an electric mixer. Clayton suggests that this dough requires 10 minutes of kneading whether by hand or by dough hook, but I find that hard to believe. That doesn't seem like nearly enough hand kneading and possibly too much maching kneading. I went for ~6 minutes with the dough hook this time and I think that was probably a bit too much. But it was hard to tell when the dough was already so stiff and dry to begin with! Next time I'll aim for a softer dough and see if I can get a better idea of how much time with the dough hook is actually required. (Or just knead it by hand. I just wanted to give the stand mixer a try so I'd have it as an option for days when I'm feeling too tired for half an hour of hand kneading.)
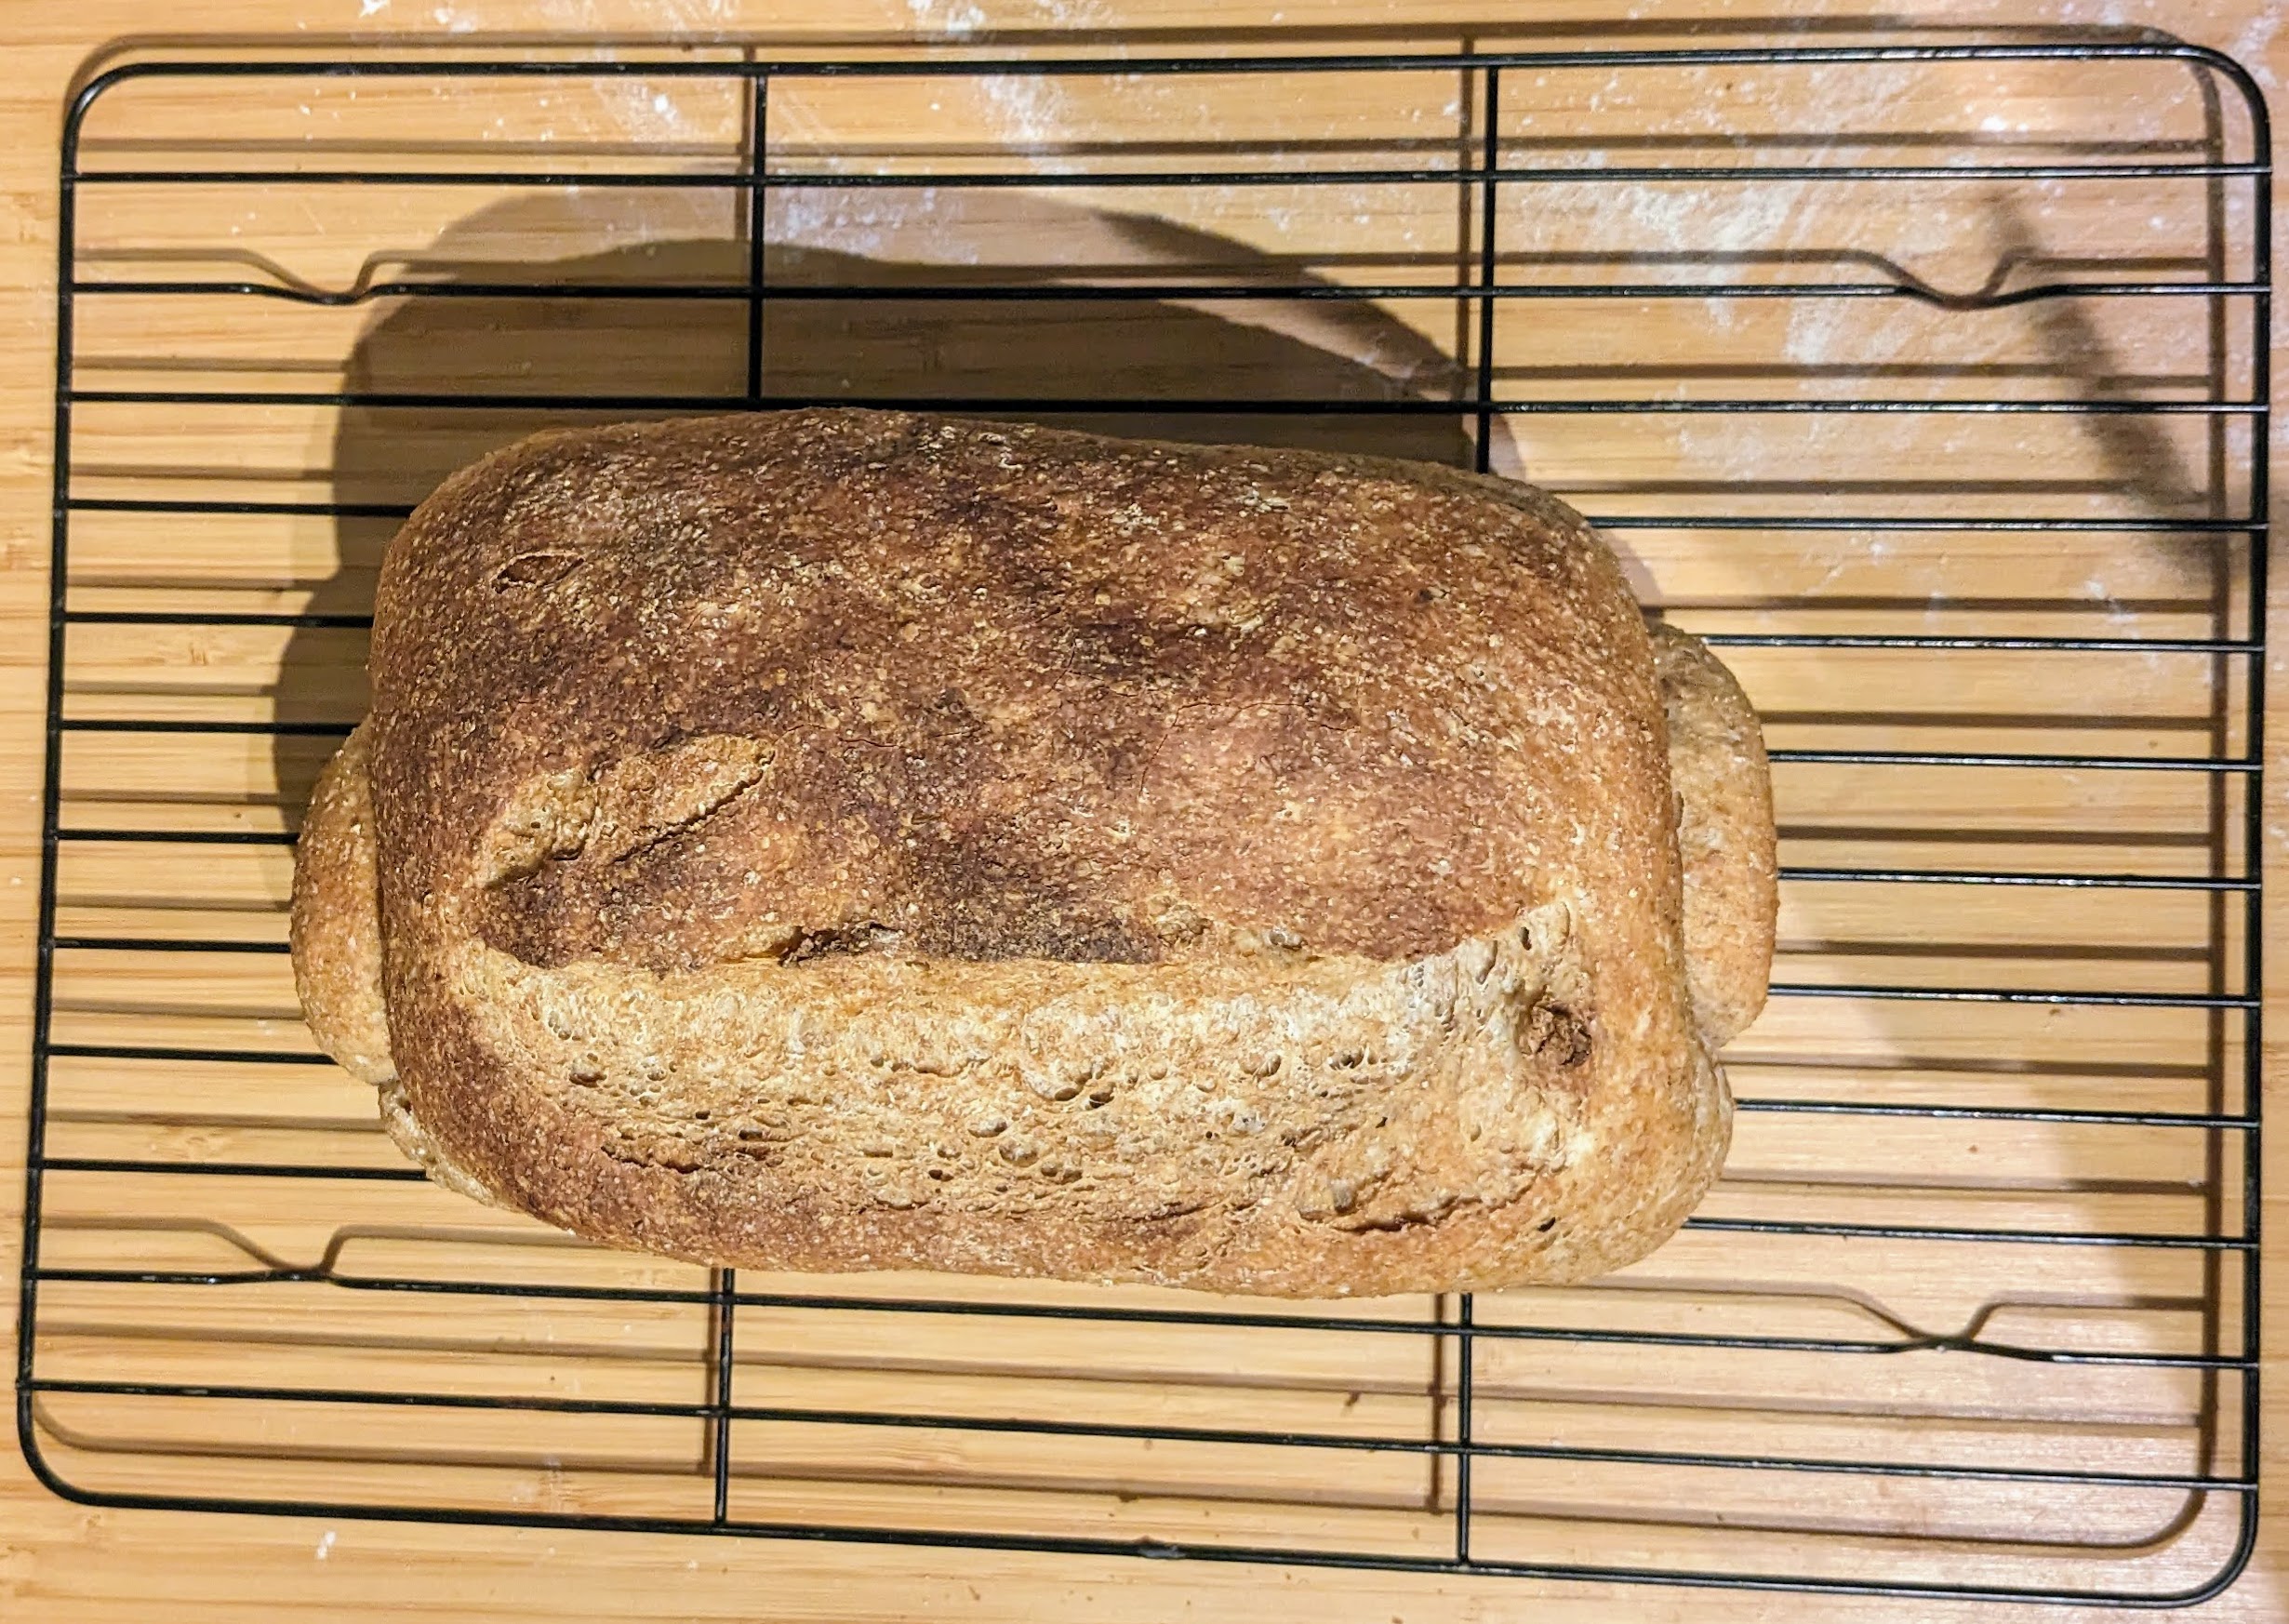
Whole Wheat Faux Sourdough
Slightly adapted from Bernard Clayton's New Complete Book of Breads
Ingredients
Sponge
- 250g active (ripe/fed) starter @ 100% hydration
- 2 c. water
- 300g hard (strong/high grade/bread) whole wheat flour
Dough
- 1/2 Tbsp. instant yeast
- 2 tsp. coarse sea salt
- 450g hard (strong/high grade/bread) whole wheat flour
- 120g hard (strong/high grade/bread) or all-purpose flour
Directions
- Make sure your starter is nice and active. I like to take 50g of starter and feed it with 100g each of flour and water the morning before I want to bake the bread.
- Once the starter is nice and active and bubby, add the water and flour to make the sponge. (I did this right before I went to bed so that it could ferment overnight and be ready for mixing in the morning.)
- Cover the sponge and allow to ferment at room temperature for 10-12 hours.
- The next morning, mix in the yeast followed by the salt.
- Then begin mixing in the whole wheat flour ~1/2 c. at a time. (If using an electric mixer, use the flat beater for this part.)
- If using an electric mixer, switch to the dough hook and begin adding the white flour ~1/4 c. at a time. If kneading by hand, turn the dough out onto the work surface and work the white flour in as you knead the dough.
- If using an electric mixer, you will probably need to work the dough for somewhere between 4-8 minutes (I'm still working on figuring out the timing). For kneading by hand, aim for at least 20 minutes, 30 if you're a slow/inefficient kneader.
- Shape into a ball and place in a covered bowl to rise for 30-60 minutes (also still working on pinning down the timing for this).
- Once the dough has fully risen (use the finger poke test), knock it back, divide into two equal portions, and round each one.
- Cover the dough balls and set aside to rest for ~10 minutes.
- Grease two loaf pans (preferably 8x4"/20x10cm).
- Once the dough balls have relaxed a bit, shape them into loaves and place into prepared pans.
- Cover and let rise at room temperature for 30-60 minutes1.
- Preheat oven to 220°C (425°F) and get some boiling water ready.
- Place a pan of boiling water on the bottom oven rack and brush the tops of the loaves with a bit of water.
- Slash the loaves as desired.
- Place loaves on oven rack above the pan of boiling water and bake at 220°C (425°F) until the crust has some nice colour to it (15-20 minutes).
- Remove pan of water and reduce oven temperature to 180°C (350°F).
- Continue baking until done (25-30 minutes).
- Allow to cool in tins for ~5 minutes, then remove from pans and transfer to wire rack to finish cooling.
1 The original recipe called for a 2-hour rise here. But it should proof faster when given a longer time on the first rise. As with all the other timings, this still needs a bit of trial and error to dial it in. Back
No comments:
Post a Comment