Monday, 16 June 2025

Hilo Bran Bread

I needed bread in a hurry last night. I had intended to give the chocolate bread a try when next I was baking, but I didn't have time to make the sponge. So instead I flipped a bit further through the book and settled on this high-fibre quick bread recipe.

Using chemical leaveners rather than yeast meant it was ready in about an hour. And, while it does have quite a bit of sugar in it, it also contains a hefty quantity of wheat bran and no added fat. So it comes out sweet, but quite lean. And the molasses makes it pleasingly dark and fragrant.


Hilo Bran Bread

Slightly adapted from Bernard Clayton's New Complete Book of Breads

Ingredients

  • 375g flour
  • 150g wheat bran
  • 1/2 c. sugar
  • 1 tsp. coarse sea salt, ground
  • 4 tsp. baking powder
  • 1 tsp. baking soda
  • 2 1/2 c. milk
  • 6 Tbsp. molasses

Directions

  1. Preheat oven to 180°C (350°F) and grease and flour two 20x10cm (8x4") loaf pans.
  2. Combine the flour, bran, sugar, and salt.
  3. Sift in the baking powder and baking soda and mix well.
  4. In a large measuring cup, combine the milk and molasses and mix well.
  5. Pour the wet ingredients into the dry and stir to combine.
  6. Pour the batter into the prepared pans and let stand for 10 minutes.
  7. Bake at 180°C (350°F) for 40-45 minutes.
  8. Turn out onto wire racks to cool.

Friday, 13 June 2025

Basic Waffles (with Variations)

I've been meaning to make waffles for breakfast all week. But I kept sleeping in and not quite getting to it. Today I finally managed to rouse myself early enough to get them done before the Kidlet went to school.

I was going to just make plain waffles. But then I saw that it had a bunch of suggested variations down at the bottom: chocolate, cheese, poppy seed, and nut. I briefly contemplated doing cheese waffles. But TF said that something sweet might be better since we don't really have much to put on savoury waffles right now. So, in the end, I went with the chocolate version.

They were perfectly serviceable waffles with a nice (if not particularly intense) chocolate flavour. They got a bit of crisp to the exterior and weren't too sweet either. I think I'd probably mix in some chopped dark chocolate next time. Just to punch up the flavour a little bit. But all-in-all this made for a perfectly acceptable quick breakfast. (Not the most nutritionally complete, to be sure, but okay as an occasional thing.)

Basic Waffles

Slightly adapted from The Big Book of Breakfasts by Maryana Vollstedt

Ingredients

  • 2 large eggs
  • 1 3/4 c. milk
  • 1/2 butter, melted
  • 250g flour
  • 1 Tbsp. sugar
  • 4 tsp. baking powder

Directions

  1. Preheat your waffle iron.
  2. Beat the eggs with the milk and butter.
  3. Add the flour and sugar and sift in the baking powder.
  4. Stir until just mixed.
  5. Pour a portion of batter into the preheated waffle iron and cook according to manufacturer's directions. Repeat with remaining batter.
  6. Serve with fruit, syrup, whipped cream, and/or other toppings of your choice.


Variations


Chocolate Waffles

Ingredients

  • 2 large eggs
  • 1 3/4 c. milk
  • 1/2 butter, melted
  • 250g flour
  • 1 Tbsp. sugar
  • 4 tsp. baking powder
  • 1/4 c. brown sugar
  • 30g cocoa powder, sifted
  • 60g dark chocolate, chopped

Cheese Waffles

Ingredients

  • 2 large eggs
  • 2 c. milk
  • 1/4 butter, melted
  • 250g flour
  • 1 Tbsp. sugar
  • 4 tsp. baking powder
  • 1/2 c. grated Cheddar

Poppyseed Waffles

Ingredients

  • 2 large eggs
  • 1 3/4 c. milk
  • 1/2 butter, melted
  • 250g flour
  • 1 Tbsp. sugar
  • 4 tsp. baking powder
  • 2 Tbsp. poppyseeds

Nutty Waffles

Ingredients

  • 2 large eggs
  • 1 3/4 c. milk
  • 1/2 butter, melted
  • 250g flour
  • 1 Tbsp. sugar
  • 4 tsp. baking powder
  • 1/2 c. chopped toasted walnuts, pecans, or hazelnuts

Waffles with Ham

Ingredients

  • 2 large eggs
  • 1 3/4 c. milk
  • 1/4 butter, melted
  • 1/4 c. unsweetened applesauce
  • 250g flour
  • 4 tsp. baking powder
  • 1/2 c. diced cooked ham

Thursday, 12 June 2025

Green Apple and Lime Slice

RM put me onto this recipe a while ago. I had hoped to make it with some fresh limes from Reiver's tree while I was in NZ, but I never quite got to it. Luckily we had a bunch of limes in the freezer here though and Granny Smith apples are easy to come by, so I decided to give it a try after I got home instead.

I cut back the sugar significantly in the cake. And I was tempted to skip the icing altogether. But TF was keen on having a bit of frosting, so I did end up using it in the end.

The icing was good. Although I was definitely glad to have cut back the sugar in the cake once the frosting was added. That said, I think that next time I'd be inclined to swap out the American buttercream for a cream cheese icing. I think the cream cheese tang would complement the other flavours nicely. And cream cheese icings tend to need proportionally less sugar and butter to begin with. So, while still not a health food by any stretch, it would still make for a marginally less sweet and calorific topping.


Green Apple and Lime Slice

Adapted from Twisted Citrus

Ingredients

Cake

  • 2 Granny Smith apples, grated
  • 2 limes, zested and juiced
  • 125g butter
  • 3 Tbsp. golden syrup
  • 240g soft (plain/standard/cake) flour
  • 1 Tbsp. baking powder
  • 1 tsp. coarse sea salt, ground
  • 2 tsp. ground cinnamon
  • 1/2 c. brown sugar
  • 125g unsweetened applesauce
  • 2 c. dessicated coconut
  • 1 c. sultanas
  • 1 c. dried currants
  • 2 large eggs

Icing

  • 100g butter, softened
  • 240g cream cheese, softened
  • 1 lime, zested and juiced
  • 1 tsp. vanilla extract
  • 250-300g icing (powdered/confectioners') sugar

Directions

  1. Preheat oven to 180°C (350°F) and grease and flour a 23x33cm (9x13") baking dish.
  2. Mix the lime zest and 2 Tbsp. of the juice with the grated apples.
  3. Combine the butter and golden syrup in a small pot and melt over low heat.
  4. Sift the flour and baking powder into the bowl with the apples and mix in the salt, cinnamon, sugar, applesauce, coconut, sultanas, and currants.
  5. Pour the butter mixture into the bowl and stir to combine.
  6. Add the eggs and mix well.
  7. Scoop the batter into the prepared pan and smooth into an even layer.
  8. Bake at 180&det;C (350°F) until done (~30 minutes).
  9. Remove from oven and allow to cool in pan.
  10. Meanwhile, make the icing byt beating the butter with the cream cheese until light and fluffy (2-3 minutes).
  11. Beat in the lime juice, lime zest, and vanilla.
  12. Sift in icing sugar until desired consistency is reached.
  13. Once cake has cooled completely, spread the icing on top.
  14. Cut into squares and serve.

Wednesday, 11 June 2025

Wheat Germ Bread

As has become typical recently, this write-up is late. I made this bread several weeks ago, but it's taken me a while to get to the write-up for it.

It was a fine loaf. Very wheat-y. As you might expect from something containing so much extra wheat germ. But it rose well and the flavour was nice. It wasn't special, but it was perfectly serviceable and we've eaten the lot now.


Wheat Germ Bread

Slightly adapted from Bernard Clayton's New Complete Book of Breads

Ingredients

  • 1 3/4 c. water
  • 1 Tbsp. sugar
  • 2 tsp. coarse sea salt
  • 1/3 c. butter
  • 1/3 c. molasses
  • 4 1/2 tsp. dry active yeast
  • 1 c. wheat germ
  • 3/4 c. milk, warmed to ~50°C (120°F)
  • 600g hard (strong/high grade/bread) whole wheat flour
  • 200-300g hard (strong/high grade/bread) flour

Directions

  1. Combine the water, sugar, salt, butter, and molasses and warm to ~40°C (105°F).
  2. Add the yeast and set aside.
  3. In a separate bowl, combine the wheat germ with the warm milk and set aside until liquid is absorbed and mixture has cooled slightly.
  4. Add the molasses mixture to the wheat germ mixture.
  5. Add ~300g of the whole wheat flour and 125g of the white flour and stir vigorously for 150-200 strokes.
  6. Add the remaining whole wheat flour and mix very well.
  7. Use some of the remaining white flour to dust your work surface and turn the dough out onto it.
  8. Knead, working in as much of the remaining flour as needed to form a soft, supple dough. (If in doubt, it's better for the dough to be a bit too loose than a bit too tight.)
  9. Continue kneading for another 10 minutes or so.
  10. Round the dough and place it in a covered bowl to rise at room temperature for 60-90 minutes.
  11. Knock back, knead a few strokes, divide into two equal portions, and round each one.
  12. Cover and let rest for 5-10 minutes.
  13. Meanwhile, grease two 22x12cm (8.5x4.5") loaf pans.
  14. Shape the loaves by your preferred method (I like to do a letter fold followed by a coil fold) and place them, seam-side-down, into the prepared tins.
  15. Cover and let rise at room temperature for 45-75 minutes.
  16. Preheat oven to 190°C (375°F).
  17. Bake loaves at 190°C (375°F) for 30-40 minutes.
  18. Remove from oven and let cool in tins for 5-10 minutes.
  19. Brush crusts with a little butter if desired. (It will give them a light gloss.)
  20. Turn out onto wire racks to finish cooling.

Monday, 9 June 2025

Lemon-Buttermilk Sheet Cake

We had the Kidlet's birthday party this past weekend. She requested cake pops rather than a regular cake, which actually worked out really well. That said, once we'd finished with the cake pops on Saturday, TF and I were both craving some sort of dessert that we could eat. So I quickly threw together this sheet cake as well.

Powdered buttermilk and frozen lemons meant that it was easy to make with ingredients on hand, without needing to do a special shop for supplies. And I also appreciated that the glaze can be added while the cake is still warm. (In theory, you're still supposed to wait for it to cool completely before you actually cut it, but at least the glaze can go on right away. And you can always cheat the timing on cutting it a bit in a way that you can't do with icing.)

I cut back the sugar a little bit for this one, but I was nervous about scaling it back too far because there's so little else in the cake to begin with. I omitted ~50g of sugar from the cake itself and maybe 40g from the glaze. I might've been able to reduce it a bit further, but I'd be wary of changing it too much more. This might just be one of those recipes that I enjoy sparingly and infrequently and just let it be an extra-rich treat when I do have it.


Lemon-Buttermilk Sheet Cake

Slightly adapted from The Perfect Cake by America's Text Kitchen

Ingredients

Cake

  • 280g soft (plain/standard/cake) flour
  • 1 tsp. baking powder
  • 1/2 tsp. baking soda
  • 1/4 tsp. coarse sea salt, ground
  • 3/4 c. buttermilk
  • 1/4 c. lemon juice
  • 1 tsp. vanilla extract
  • 300g sugar
  • 3 Tbsp. lemon zest
  • 3/4 c. unsalted butter, softened
  • 3 large eggs
  • 1 large egg yolk

Glaze

  • 300g icing sugar
  • 3-4 Tbsp. lemon juice
  • 1 Tbsp. powdered buttermilk (or 1-2 Tbsp. regular buttermilk)

Directions

  1. Preheat oven to 160°C (350°F) and grease and flour a 23x33cm (9x13") cake tin.
  2. Sift together the flour, baking powder, and baking soda.
  3. Mix in the salt and set aside.
  4. Combine the buttermilk, lemon juice, and vanilla in a measuring cup and set aside.
  5. Beat the sugar with the lemon zest until well-mixed and fragrant.
  6. Separate out ~1/4 c. of the sugar and set aside.
  7. Cream the butter into the remaining lemon sugar.
  8. Beat in the eggs, one at a time, followed by the egg yolk.
  9. Mix in the dry ingredients in three additions, alternating with the wet ingredients in two additions.
  10. Give a final stir by hand and then pour the batter into the prepared tin.
  11. Bake at 160°C (325°F) for 25-35 minutes.
  12. Remove from oven and allow to cool for 10 minutes.
  13. Meanwhile, make the glaze by mixing the icing sugar, lemon juice, and buttermilk powder (or buttermilk) together until it reaches a smooth, pourable consistency.
  14. Pour the glaze over the cake, making sure it covers the entire surface.
  15. Sprinkle with reserved lemon sugar and allow to cool completely before cutting into squares and serving.

Friday, 6 June 2025

Oatmeal-Buttermilk Waffles with Serviceberry Sauce

It's been a tough couple of days. I woke up late this morning and was craving comfort food for breakfast. And, while I may not be able to solve anything else right now, I could at least solve that. So I made these very basic oatmeal-buttermilk waffles.

The book called for topping them with a fresh blueberry sauce, but I didn't have any blueberries. What I did have though, was serviceberries! And they were a lovely treat here.

The waffles came out very light and crisp and were great with the serviceberry sauce (which comes together in ~5 minutes). The Kidlet had hers with a dollop of whipped cream, just to make it extra special. I had mine with just the sauce and didn't feel that I was missing out.

I think the only change that I'd make next time is to add just a touch of vanilla to the waffle batter. I nearly did so this time. I thought it seemed like it would be a nice addition. But, in the end, I decided to stick to strictly what was in the recipe. And, to be fair, the waffles did come out very well. I just think a hint of vanilla would've made them even better! And, if you're making the sauce to go with them (which calls for lemon juice, you can always zest the lemon first and toss a bit of the peel into your batter as well. Don't overdo it, of course, but I think that a 1/4-1/2 tsp. would go quite nicely.


Oatmeal-Buttermilk Waffles with Serviceberry Sauce

Slightly adapted from The Big Book of Breakfast by Maryana Vollstedt

Ingredients

Waffles

  • 140g whole wheat flour
  • 100g quick oats
  • 1 Tbsp. brown sugar
  • 1 Tbsp. baking powder
  • 1/2 tsp. baking soda
  • 1 1/2 c. buttermilk
  • 2 large eggs
  • 1/4 c. butter, melted
  • 1/2 tsp. vanilla extract (optional)
  • 1/4-1/2 tsp. lemon zest (optional)

Sauce

  • 3 Tbsp. sugar
  • 1 Tbsp. cornstarch
  • 1 Tbsp. lemon juice
  • 1/2 c. water
  • 2 c. fresh or frozen serviceberries (or blueberries)

Directions

  1. Preheat your waffle iron.
  2. Combine the flour, oats, and sugar.
  3. Sift in the baking powder and baking soda.
  4. Beat the eggs with the buttermilk and melted butter.
  5. Beat in the vanilla and lemon zest, if using.
  6. Pour the wet ingredients into the dry and stir until just mixed.
  7. Scoop a portion of batter into the preheated waffle iron and cook according to manufacturer directions. Repeat with remaining batter.
  8. Meanwhile, combine the sugar, cornstarch, lemon juice, water, and berries over medium-high heat and bring to a boil.
  9. Cook, stirring often, until liquid portion of sauce is smooth and glossy and thickens slightly (2-3 minutes).
  10. Serve waffles topped with sauce (and any other toppings you'd like).

Thursday, 5 June 2025

Lazy Zongzi Rice

粽子 (zòngzǐ) are sticky rice dumplings. They're the tetrahedral ones that you see wrapped in bamboo leaves and tied up with string. They are made with glutinous rice, can be savoury or sweet, and are traditionally eaten during 端午节 (duānwǔ jié) or Dragon Boat Festival, which occurs sometime between late May and mid-June each year.1

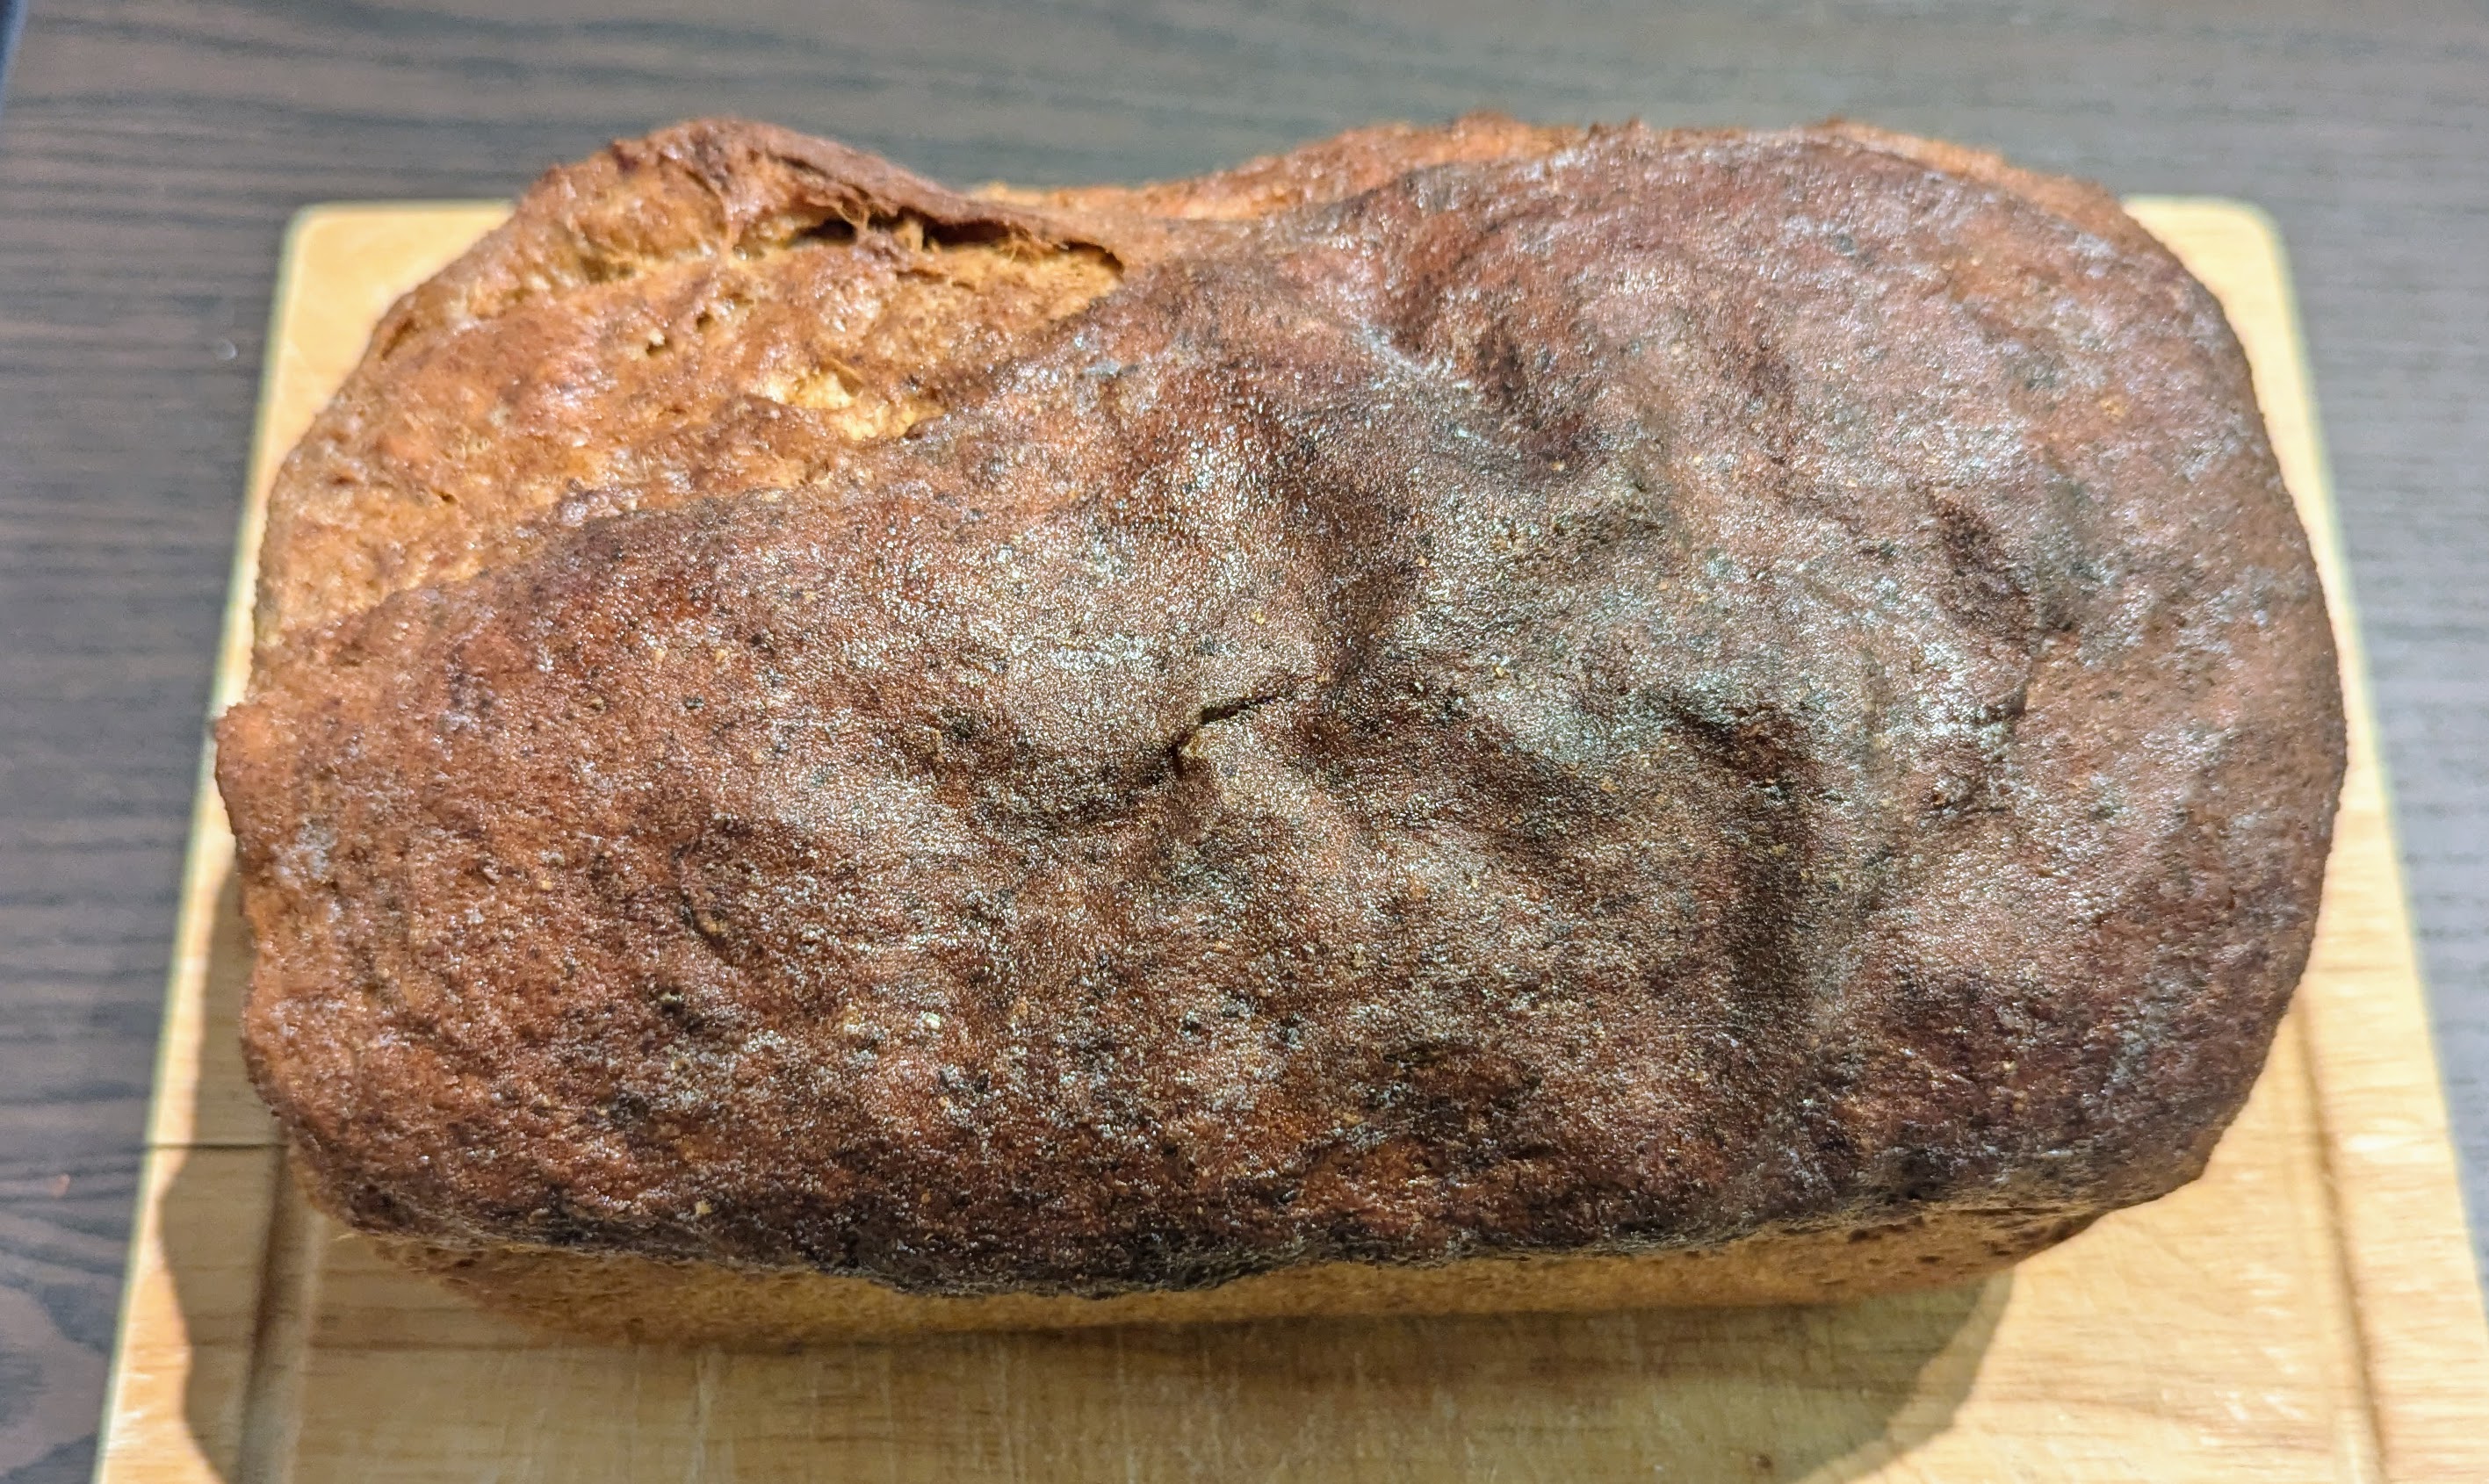
Unlike "real" 粽子, this version is not wrapped into individual bamboo leaf packets before steaming or boiling. Instead, all of the ingredients are mixed together in a leaf-lined steamer basket. This gives you all of the same flavours without going to the effort of making individual dumplings.

I didn't have any dried bamboo leaves on hand and I did have a surplus of lettuce. So I just ended up using that to line my steamer basket. This did not, of course, impart any of the traditional bamboo flavour to the rice, but it worked just fine to prevent the rice from sticking to its cooking vessel. And we still got to enjoy all of the other flavours in the rice. So, all-in-all, I'd call this a success. Even if not necessarily a super traditional one.


Lazy Zongzi Rice

Slightly adapted from The Woks of Life

Ingredients

Rice

  • 1 1/2 c. uncooked glutinous (sticky/sweet) rice
  • 8-10 dried bamboo leaves
  • 1/2 c. shelled raw peanuts (without skin)
  • 3-5 Chinese sausages, sliced thin
  • 3-4 green onions, chopped
  • 1 Tbsp. light soy sauce
  • 1 tsp. coarse sea salt

Pork Belly

  • 450g pork belly2, cut into 1cm dice
  • 2 Tbsp. light soy sauce
  • 1/2 tsp. coarse sea salt
  • 1 tsp. dark soy sauce
  • 2 Tbsp. Shaoxing wine (绍兴酒)
  • 1 tsp. sugar
  • 1 tsp. white peppercorns, ground

Directions

  1. Place the rice in a large bowl with enough water to cover by at least 2-3cm. Cover and soak for at least 6 hours or as long as overnight.
  2. Soak the bamboo leaves for at least 3 hours (or overnight).
  3. Soak the peanuts for 1 hour, then boil for 10 minutes.
  4. Meanwhile, combine the pork belly, light soy, salt, dark soy, wine, sugar, and white pepper and mix well. Cover and chill for 1-2 hours.
  5. Drain the rice and the peanuts.
  6. Combine the rice, peanuts, Chinese sausages, green onions, soy sauce, and salt and mix well.
  7. Line a steamer basket with some of the bamboo leaves.
  8. Place a layer of rice over the leaves, followed by a layer of pork belly. Repeat once more.
  9. Cover the last layer of pork belly with the remaining bamboo leaves.
  10. Place the steamer basket into a pot/steamer over cold water.
  11. Cover, bring to a boil, and steam for 60-90 minutes. Or, if pressure steaming, cook on high pressure for 45 minutes with a 10-minute natural release.
  12. Keep warm until ready to serve. (Rice will harden when cooled.)


1 Meaning that I even managed to make this dish at a vaguely seasonally appropriate time! Back
2 The original recipe only called for 225g of pork belly, but I had extra, so I used it all and just scaled up the marinade accordingly. I liked these proportions, but feel free to use more or less as you see fit. Back